Top 10 Dirt Bike Suspension Tips Do's & Don'ts
Jun 20, 2022In this video, we're gonna show you guys the top 10 suspension troubleshooting tech tips
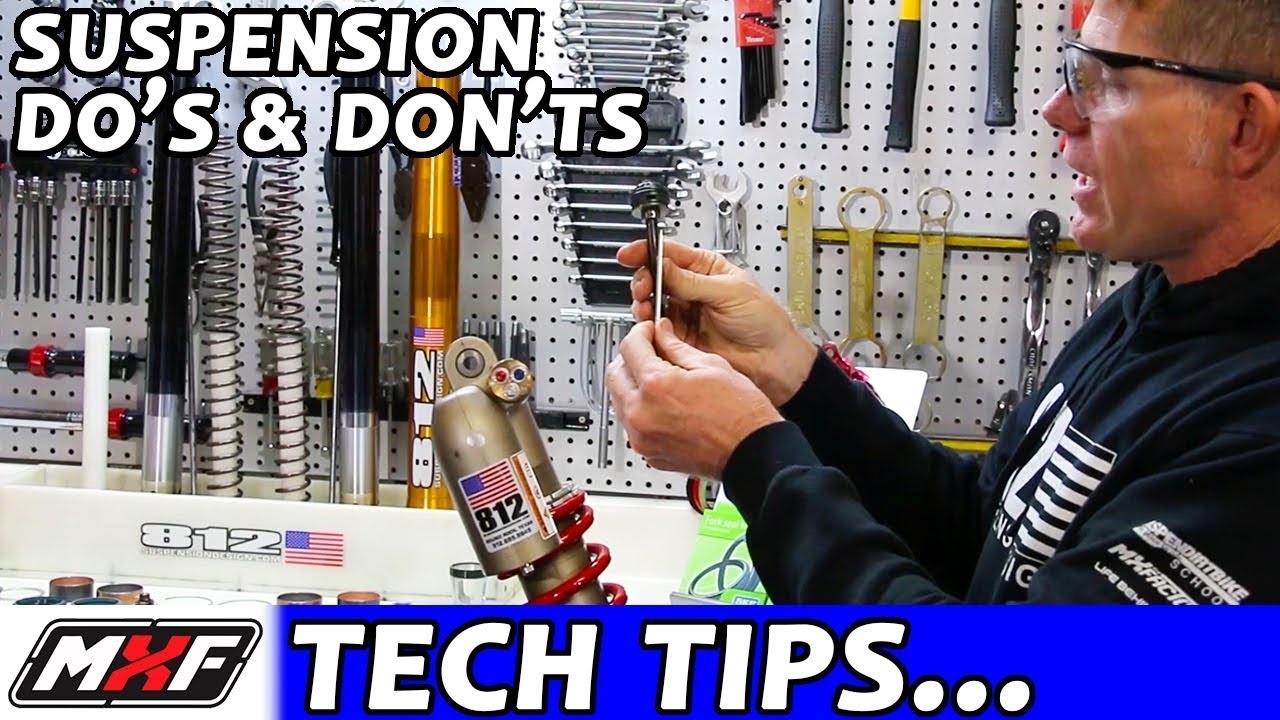
what's up guys. My name is Tyler Livesay with MX factory. This is Doc with 812 suspension design. Today. We're gonna show you guys 10 very common mistakes and or good things that we do when we ride dirt bikes. When becomes a suspension. Here's tip number one,
common question. We're always asked about be bleeding. The fork is how often I do it. We recommend that you do it before every ride while the bike is on the stand. Always like to wear eye protection. Uh, there's always a chance that, uh, when you're bleeding the fork, uh, oil, dirt, Tyler, what are you doing?
Protection. How is to protection? When's the last time you've bled your forks to crack the bleeder. You don't need to take the screw all the way out. Just simply undo the bleeder.
Verify that you have a O-ring in place and simply tighten your bleeder down. I see a lot of times people putting a lot of torque on that, uh, just hand tight, as you can see, I'm doing a quarter turn. The second tech tip is how to set the sag. Uh, there's a lot that we could cover the important key points there of setting the sag.
Is you're consistent. You're doing it in your riding gear. You're standing in a standing position. We actually have a sag video that we've done. So if you want to go into a little more detail with that, check out the link below. And, uh, we got all the goods there. Tip number three, adjusting your clickers.
Uh, this is a 2017 Husqvana FC four 50. Uh, it's a separate function fork. You got airs springing on one side compression and rebound valving all on one side to adjust the clicker. You're gonna turn the clicker all the way in clockwise. Now we're adjusting the clicker. We're gonna open this up to 10 and then rebound set at 18.
There's a screw on the bottom. And we are counting the clicks again, we're turning the clockwise, bottoming out the clicker, and then we're opening in a 18. Here. We have a piston valving in a needle closing off an Orus. So we're turning. Clockwise to bottom out this needle and then we're opening it up. Our desired number of clicks on Tyler's case 10 at the top 18 at the bottom.
What is happening with the needle is we're metering the amount of oil that is going through that. Orus. Oh, now I get it. Now the pieces are falling into place. Here's a couple different types of forks. Doesn't matter if it's open chamber closed chamber for CS, K Y B show, uh, they all pretty much work the same.
We're gonna set the adjuster to 10. We're turning the adjuster, screw clockwise. We're gonna open up to.
And here's a rebound adjuster, uh, for this set of forks. We're gonna open that up to 18
tension, rebound their synonymous for CS, same thing, positive. I'm closing the ORP office negative I'm opening the orphan same thing with rebound. Close chamber, WP, bladder, fork compression at the top. Sometimes you'll find these little rubber stoppers at the bottom and there's our rebound adjuster clockwise close counterclockwise, open, same thing with the shock.
Closing it. Clockwise in opening it, counterclockwise this slows down and speeds up how fast the shock shaft is moving on a shock. The brass adjuster screw is at the center. This is your low speed adjuster. I'm gonna open this up to 10. The 17 millimeter nut is your high speed adjuster. Now high speed adjuster is how fast the shock shaft is moving velocity of the shock shaft.
So I look at it as how fast the velocity is moving. High speed hit the square edge, bump the breaking bump, the acceleration bump.
I'm gonna close this. We're gonna open this up. What I like to do is, uh, just kind of orient my tee handle and we're gonna open this up two turns.
Again, low speed clicks, high speed turns moving onto another shock rebound adjuster at the bottom. Gonna open this up to 10, a separate type of adjuster. This is compression. Low speed compression, high speed. Tension low speed. Tip number four is alignment of the fork tubes. What we're talking about is the relationship between the left and the right Fort tube.
This fork is not properly alignment. We got some rock there. You can see at the bottom that our axle pinch bolt is compressing the fork, and they're not parallel to each other. To align the front end torque, the left side of the bike. Our axle is already torqued. Triple tree bolts are already torqued spin.
The front tire. All we are simply doing is aligning the front end of the bike. We generally do this three times on the third time. We're certain that our front for tubes are aligned. While the break is pressed in. We're simply gonna torque.
Our axle pinch bowls, tip number five is your fork height. The main thing is, is that you have the fork height equal on the left and the right side raising and lowering the fork in the triple tree, uh, is changing the weight, bias the rake in the trail of the bike.
In a high speed setting. We may have air Fort cap flush with the top triple clamp in a technical Rudy Rocky Enduro setting. We may have air forks up in the triple tree, and that's gonna allow us to negotiate a tighter turning radius.
Cool little tip or trick is, uh, obviously not everyone has a set of caliper in their toolbox. You can get a simple alligator clip, put some pennies on that alligator clip, throw that in your toolbox. Generally. Uh, most bikes like to be settled and balanced. Around, uh, five to seven millimeters, um, depending on what type of riding that you're doing.
If we're doing high speed desert, we're gonna move the forks down in the triple tree. And when I say down in the triple tree, we may put.
The fork tube flush here. We can see that this generally has about three pennies width, which is 4.1 millimeters. If I was in the high speed setting, I would put one penny on it. 1.3 millimeters, moving the forks down in the triple tree. We're gonna set the torque specs on this bike is 12 Newton meters on the bottom triple tree bolts, and then 17 Newton meters on the top key component, there is getting your torques back.
Correct. Here is what right. Looks like. And soon as I put my buddy's wrench on it, what happens is they're talking about riding dirt bikes and they torque it and then they recheck it and they torque it again. And now what I've created is stick and friction. This can be measured and it can be felt. So right now the fork will not go past this point because.
It is stopping that inner and outer bushing from sliding through the top two. If you didn't have it that tight, it would just fall down, right? Yeah, it would just fall down freely. Tip number six is, uh, pressure washing the bike. You wanna stay directly away from the linkage pivot bolts, and when you're power washing 45 degree angle downward,
never want to spray up at an angle. Getting past the dust seal or oil seal, all that's gonna occur is you're gonna accumulate water and moisture inside the fork itself. Tip number seven is storage and transport of the bike, uh, storage of the bike. We like to store our bikes on a stand. It just relieves the pressure on the seal.
When we're strapping down the bike, we like to have the bike equally strapped in on the, both the left and the right doesn't matter where you. As long as it's the same on each side. I always just pull 'em down at the same time. But if you can't be in front of them. Yeah. Um, this nice little snug snug, not too much, not too little too little equals the hole in the wall too much equals blown for seals.
And you have to go back to this whole process with doc again, please. No, no, no. We're not a fan of tipping, the bike sideways. The only thing that happens with tipping, the bike sideways is you're making the seal kind of egg shape. It promotes leaking of seals. Uh, which is what we do not want. Also when you're transporting for a long time, when the bike is cinched down, simply crack the bleeder gets the pressure out of there.
When you go out for your initial ride, you're gonna put the bike on the stand and recr your bleeder. Okay, tip number eight. I wanted to talk a little bit about something that may not be your suspension. You may feel like the bike is super harsh or like the bike is washy and it could all be right inside this tire.
What you want to do is make sure that you have proper air pressure in your tires. I personally like to run in between 12 and 13 on the tracks around here, depending where you are in the world, that's gonna vary, but it won't vary more than a couple pounds of pressure. What you don't want to do is put 25 or 30 pounds of pressure in your tire because it's gonna make the bike feel extremely stiff and harsh.
And just like, it's not floating through like you'd like it to tip number nine. We recommend servicing your suspension every 30 to 50 hours after 30 to 50 hours, what happens is, uh, the oil develops some polymer, shear. It has stiction and friction, and it changes how the performance of the bike feels. Uh, changes, compression and rebound damping.
The reason that we're recommending 30 to 50 hours is this is an aluminum sta tube. And these are bushings. This bushing has a Teon coat on it. And if that Teon coating wears away, what happens is it starts to eat away at the aluminum on the outer. Uh, here's what it looks like. This is just after probably about 60 hours worth of riding.
And if you look at this real close, you may get to see a little bit of aluminum particle in there. See how it's kind of shiny. And this is what it looks like. 5 10, 15, 20 25, 30, 35, 40 45, 50 55 60. Uh, once you get into the 35 40 hour range, you're really doing damage to the component itself. Tip number 10 is, uh, writing position writer input.
Uh, a lot of times it's not your suspension that's causing the problems. Yes, he's totally correct there. So if you haven't taken the time to properly learn how to put your body weight in the right spots at the right time, no matter what suspension you have, it isn't gonna work like you would like it to.
So in imbalance in body physician at any point is gonna affect the suspension. Just like when I scoot a couple inches on this, stand the bike tips back and puts weight on the back end and lightens the front front end load. The same thing's happening. Every time you go into any part of the track, if you're too far, one way or the other, the, the suspension's gonna feel the direct effects of where you're at.
All right, guys, we hope you really enjoy the top 10 dos and don'ts for setting your bike suspension. If you liked it, there's more videos over here. If you loved it, subscribed down here and don't forget to check out 8 1, 2 suspension design Instagram right here. He's actually pretty good at the drums. Oh, you guys are both musical in this video.
You guys are learning how to play a guitar and sing on a dirt bike.
Want to become a safer and faster rider? Check out our Technique Master Class!