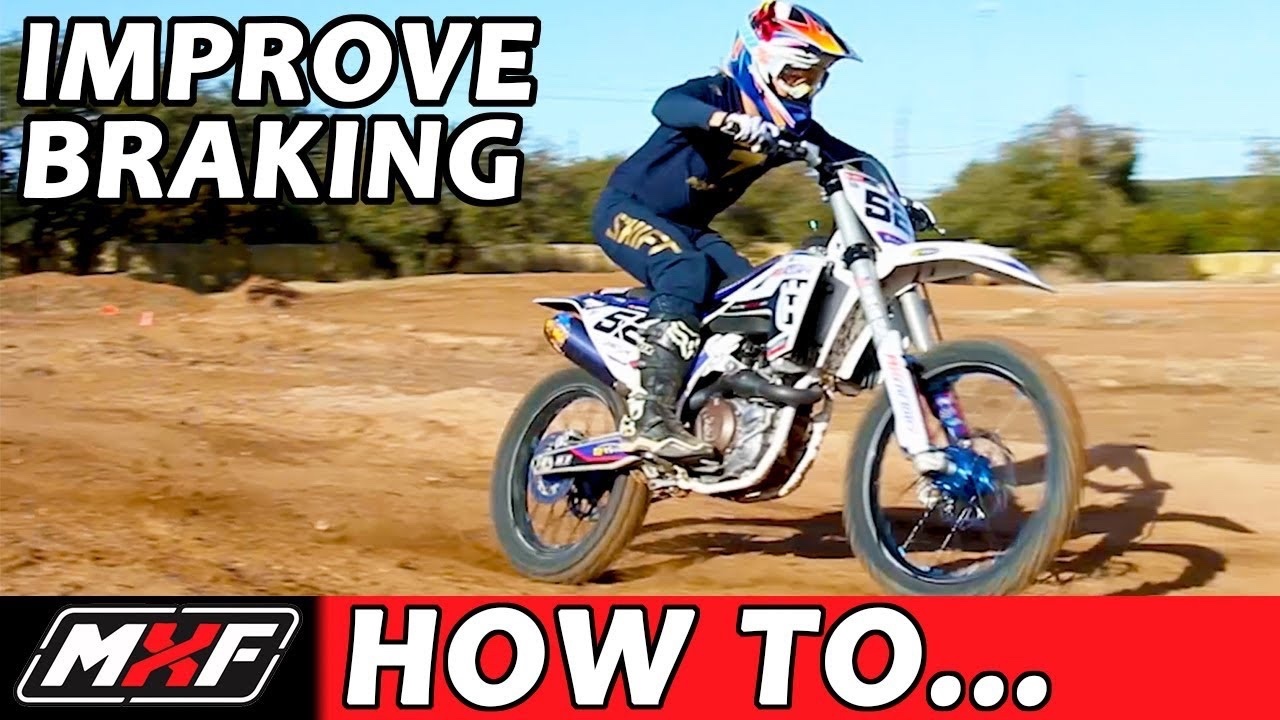
How to Master Braking Technique on a Dirt Bike
Jun 19, 2022In this video, you guys are gonna learn how to use your brakes properly.
What's up guys, Tyler here, we're at the MX factory and we're gonna teach you guys how to use your brakes in three steps. One is gonna be just what the knowhow of what's going on with these things. Where do I use this one? When do I use this one and how much the second step's gonna be your body position in the meat of the breaking.
Your third is going to be your setup. When do it off the brakes and get ready for the turn.
Step one. What do these things even do? How many are. There's actually three breaks. A lot of people don't know that you have your front brake, which can create a lot of power, your rear brake, which acts as stabilizing. And then you're shifting down without the clutch in will also engine brake and give you more slowing power, which is a really, really good thing that a lot of people don't know how to use.
So pay attention to this video and will help you out when you're just getting started into this stuff. Think. Leaving the front break alone. For the most part, focus on your rear break. We go 70% rear, 30% front on our new lessons that come through the MX factory doors and then progressing from there. The ratio is coming up to even so 50, 50, you know, equal amount of pressure up front to back.
And then you start playing with your dirt types. If you're in sand, there's a little more back, a little less front, you don't want the front end to die. If you're on tacky dirt, you can really get on the front. So sometimes it's up to 70% on the front and 30% on the rear. It's really trial and error in step two.
You're gonna see the meat of it, and you're gonna really understand what it's supposed to mean. Step two, the meat and potatoes. Or the salad and the vegan ice cream, whatever way you flow. So we're gonna start from the ground up here. It's important that your squeeze tight to the bike the whole time ankles all the way up to your.
And then also that you're moving your foot from the front to the back. When you're going to the brake, especially the back brake, it doesn't need to come out like this. You lose all your, your squeezing power when you do that. So moving up from there, you wanna stack your hips over the pegs, and then as you're breaking the big thing in breaking that most people don't get.
It's balancing with the amount of break that you're applying balancing back. That is. So if you're heavy on the brakes, you've gotta move your weight way to the back and lower over the. The less breaks you give the less that you have to be back there. So just as we talked about, when we're powering that way, powering forward, you've gotta do the exact same thing under breaking.
Okay. The more front break is usually gonna bring you wanting to pull over the front and the back break is gonna plant the bike and get it to connect to the ground. So it's Aly supportive. The big thing is, is testing. How much breaks am I? Where's my butt. If my butt's way back here and I'm not giving it any breaks, it's gonna feel real awkward.
But if I'm here and I'm on the binders, it's gonna feel nice and balanced. And then if, if you're not, you wanna be more towards the middle of the bike, feeling smooth, squeezing the bike, having a lot of fun to add on top of all that, a good drill to do, which really helps we do this a ton here is setting two cones up.
You did it.
Congratulations, hitting the gas at the first cone, powering through that. And one, your front tire hits the second cone immediately. Snapping back into position and hitting your breaks at the same time and just conditioning the feeling of being balanced on the bike in this drill. Just make sure that you're not using the clutch.
We touched on that on step one. This is a big key component learning how to use all three breaks at once. And not just to, if you want to go a little more advanced with it, my advanced feathers, we do it one handed. And what that does is takes away all your upper body strength, which you don't need a lot.
If you do this right. And your balance, and it gets you all in your technique. So if you hit the brakes hard and you're in the wrong spot, you're going forward and the bike's staying back, but if you're in the right spot, it feels extremely balanced and really easy. And it's really cool. Step three is gonna be your setup and your timing of when to do so.
What we teach here is red zone, yellow zone green zone. What that means is red zone is when you're breaking, you're moved back on the seat. Your. Yellow zone is when you set up. So when you go from that to seated leg out and ready to go through the turn and green is when you're back on the gas. What's important here is to know when to do all of that.
A lot of tracks will have a bump right before the turn that gives you a reference of when to sit, we call it a setup bump, and it's usually the bump. That's the biggest because everyone's using their brakes all the way up to that bump, then releasing and all the dirt piles right there in this scenario.
It's flat. So we're gonna show you guys by color. When to do it.
Hope you enjoyed it. I know I did love riding these things. If you want more videos, we have some more over here. If you loved it, like we love you subscribe down here and make sure you hit us on our Instagram. We're posting some tip videos throughout the week. You guys will like them. Yeah, that was good.
You didn't really say goodbye. Clip that in that'll work.
Want to become a safer and faster rider? Check out our Technique Master Class!